As we continue to evolve our new house into something that reflects our personalities, we have been leveraging what mother nature offers. Wood from our land.
Our first stint on the subject was out of necessity, a work desk for Mario. We were in awe of how great it looked that our focus spiraled into a series of other decor projects. Using select pieces of "wood jewels", a countertop tray was born the replacement of an outdated wall sconce light fixture was next and so many other little projects that you will find on this blog.
How often have you walked into an Airbnb and trying to figure out which switch leads to what? It can be fun when vacationing or at least satisfying some quick curiosity. But when it becomes your daily routine. You start wondering WHY in God's mind a switch with 4 attachments is even necessary.
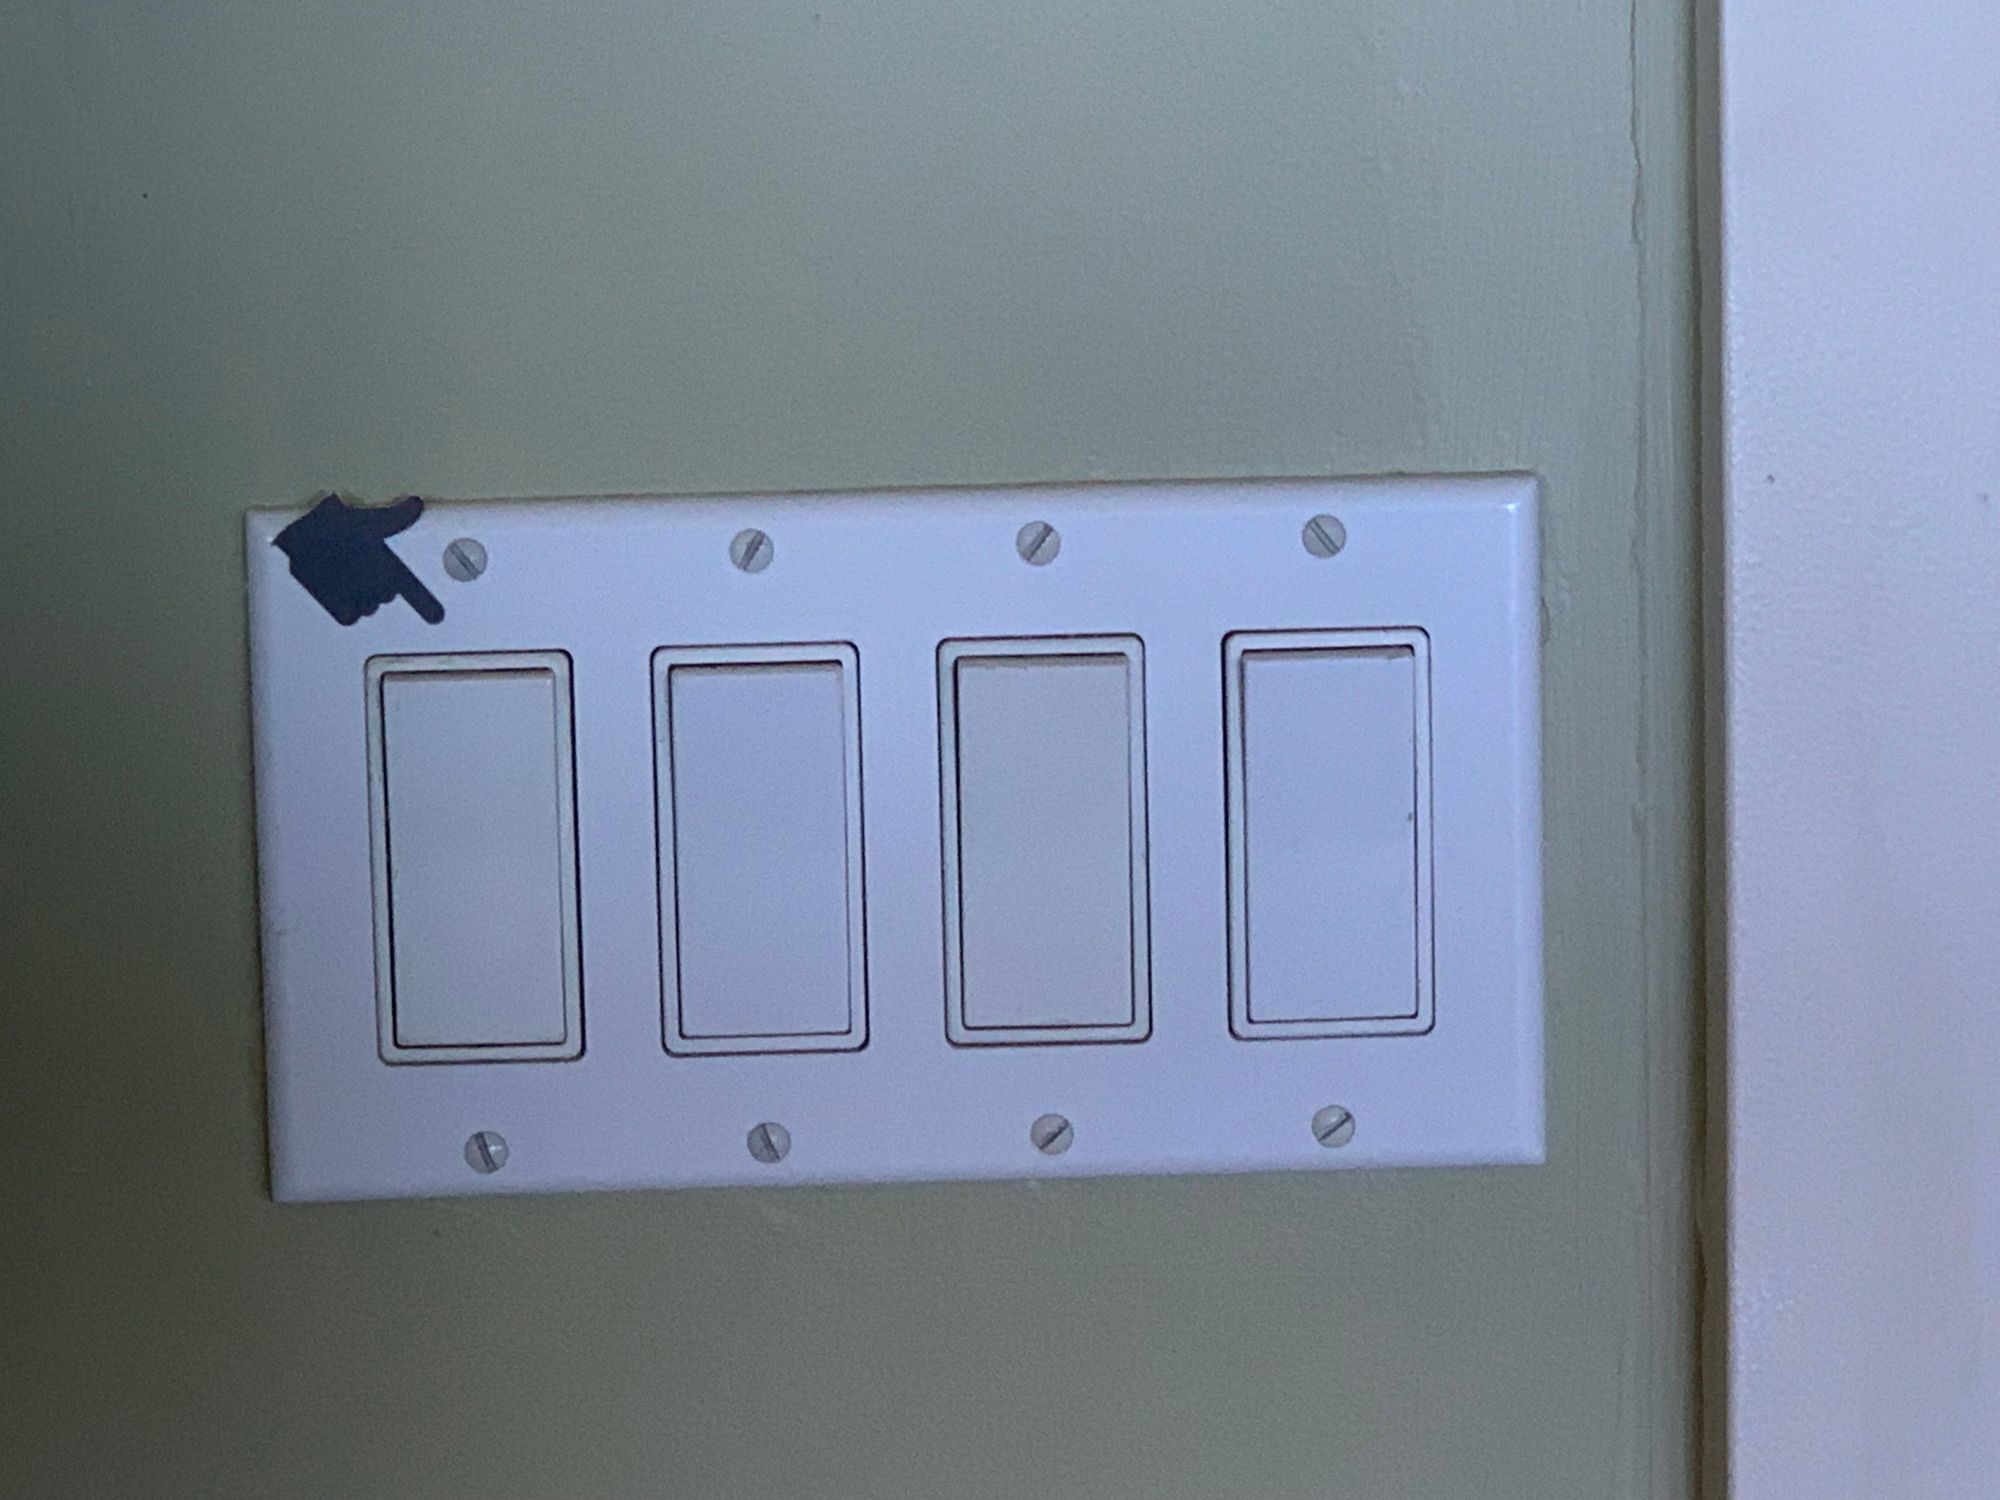
It has been a few months trying to get to know the quirks of the multitude of switches. We are still asking each other how do I turn on the living room fan?
It feels like playing a game of 3 shells. Makes any sane person want to grab a can of spray paint and to graffiti town.
Practical for the time being but ugly as hell!. Label printer is one solution but we are not in a state building where practicality and the color grey is the theme. We need to label these things NOW!
Pondering what can be used to identify these switches and at the same time look appealing. I spent some time...
And I came up with this checklist:
- Leveraging what our environment has to offer
- Aesthetically pleasing
- Creativity homemade
- Zero cost but time and talent
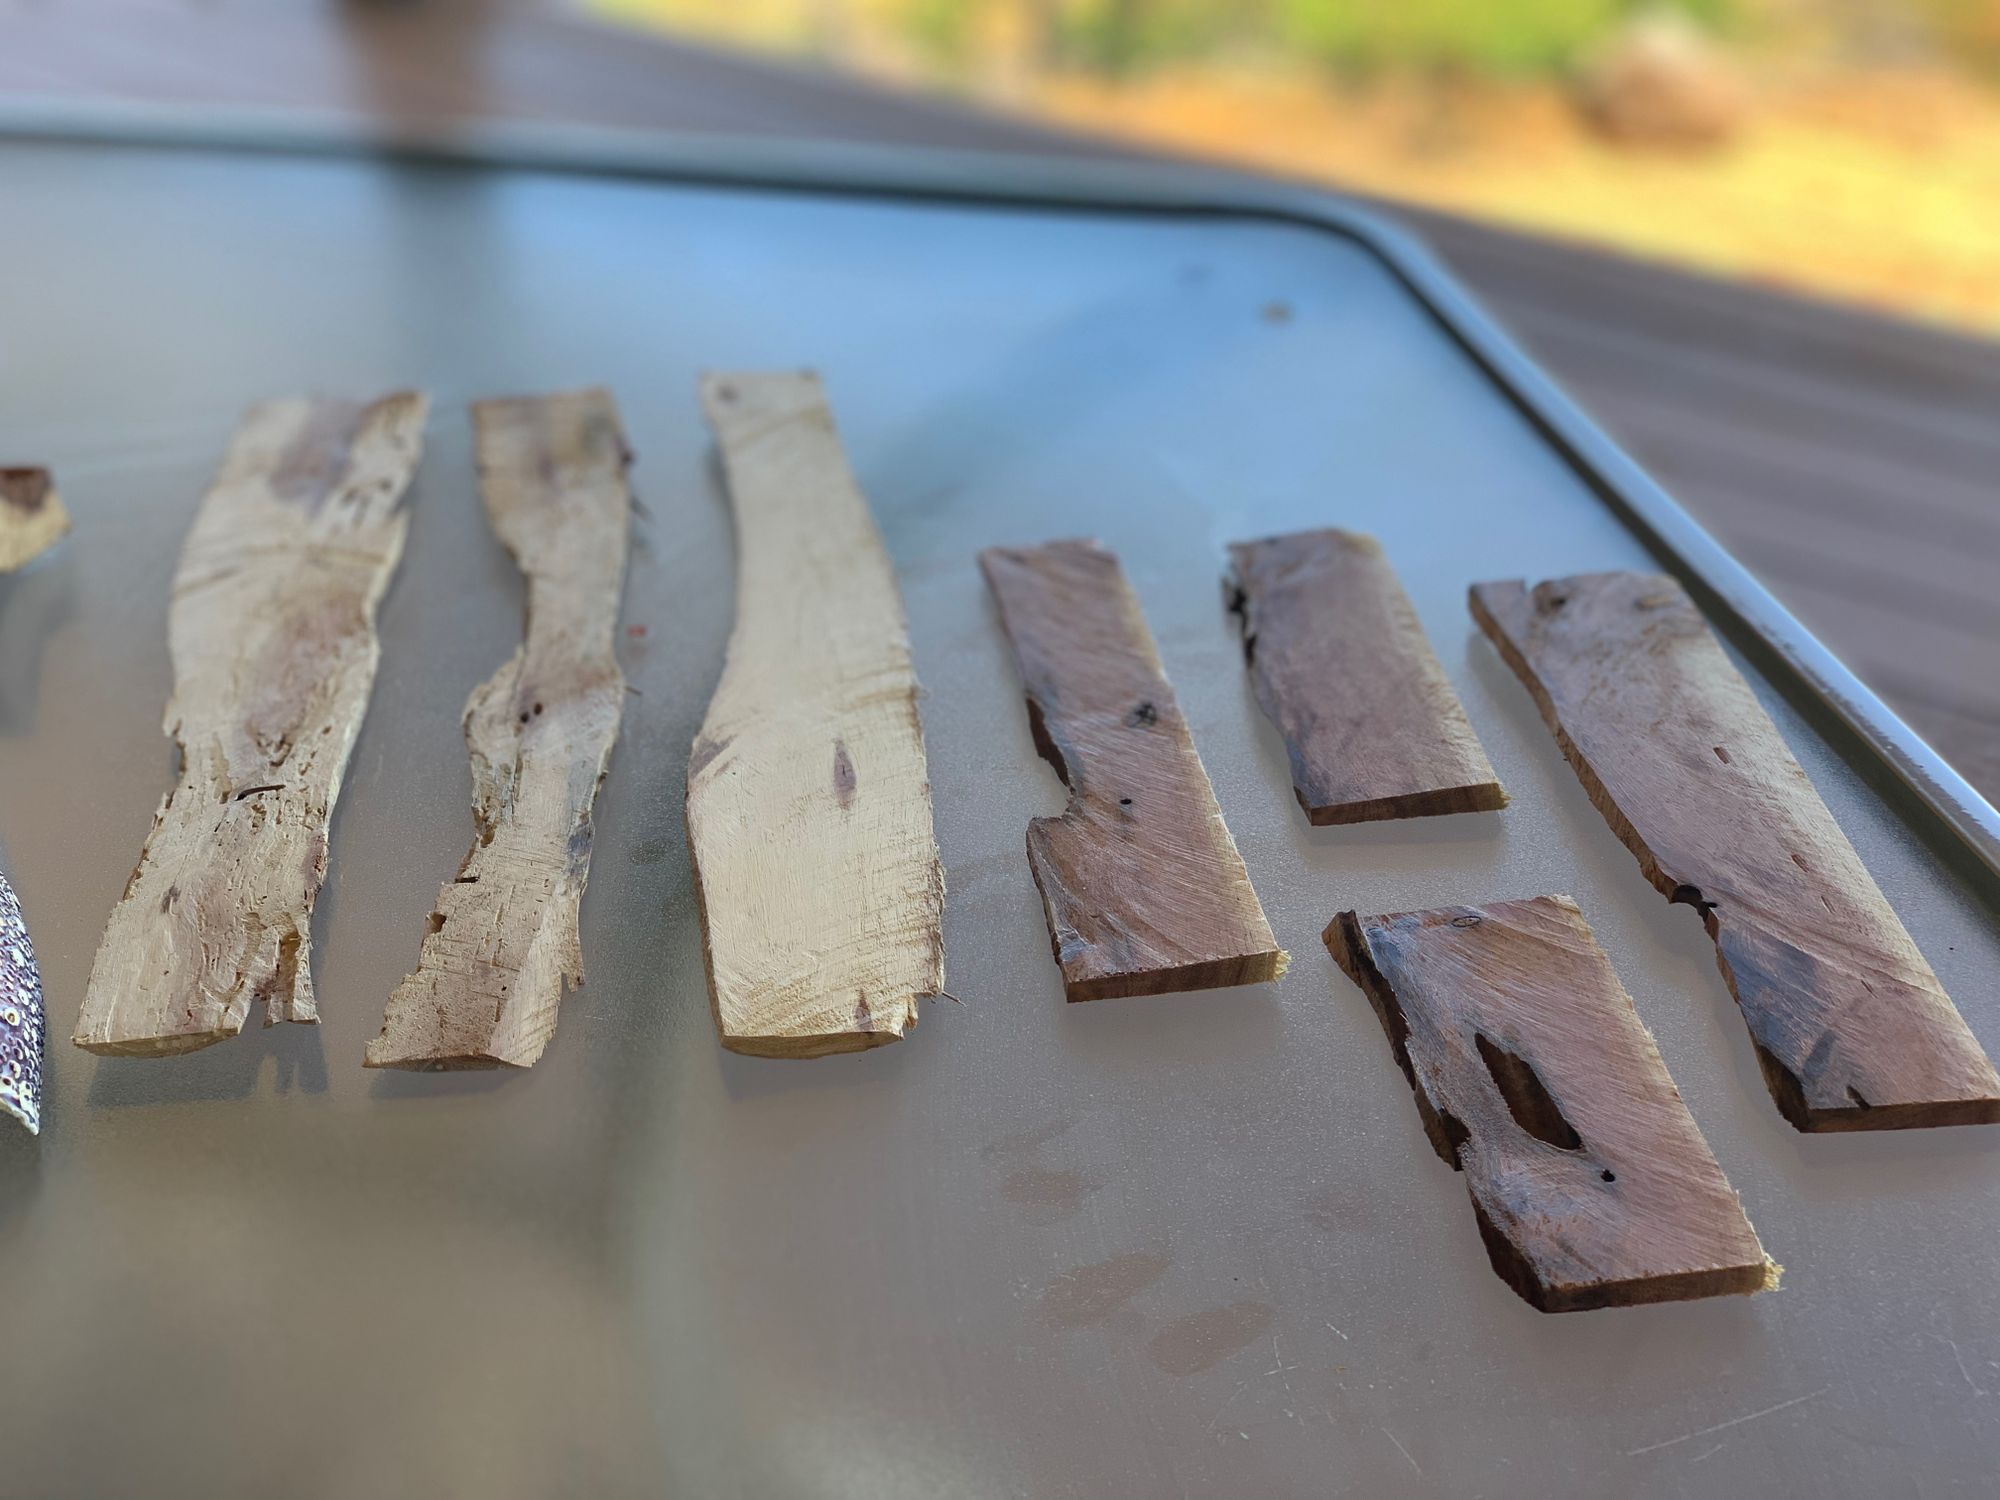
Then I remembered that while Mario was making the pieces for the desk, he had some leftover thinly sliced pieces.

I am married to a nerd. That's a fact. When using a computer program, usually you have what is called a Toolbar and that has icons. My toolbar became this slat of wood

and my icons...wait for it...waiiiit.. Not's it's a not a floppy disk!
Now that I had a design in mind, I sliced a left over of a Kiawe tree and I had plenty of toolbars to go by. Now I had to figure out what "Icons" I was going to use for each switch and how I would place them over the plates.
At this point, I had figured the essence of what I wanted to build. But I still had more question:
- How many plates do we really need?
- Do I paint, or stain them?
- How I hold them on the wall. Screws, adhesive?
As luck would dish out, the switchplates are all different widths. Small obstacle but not a show stopper. One idea that was passed on to me by hubby while building the tray was that Kiawe wood is naturally fire retardant and not easily burned. That ruled out using torching to imprint the labels on the board. Painting icons to identify each switch became the way of doing it.
At this point, it was all clear and from the peace of our deck with a view that every day makes me appreciate this place and its people, even more, I start painting.
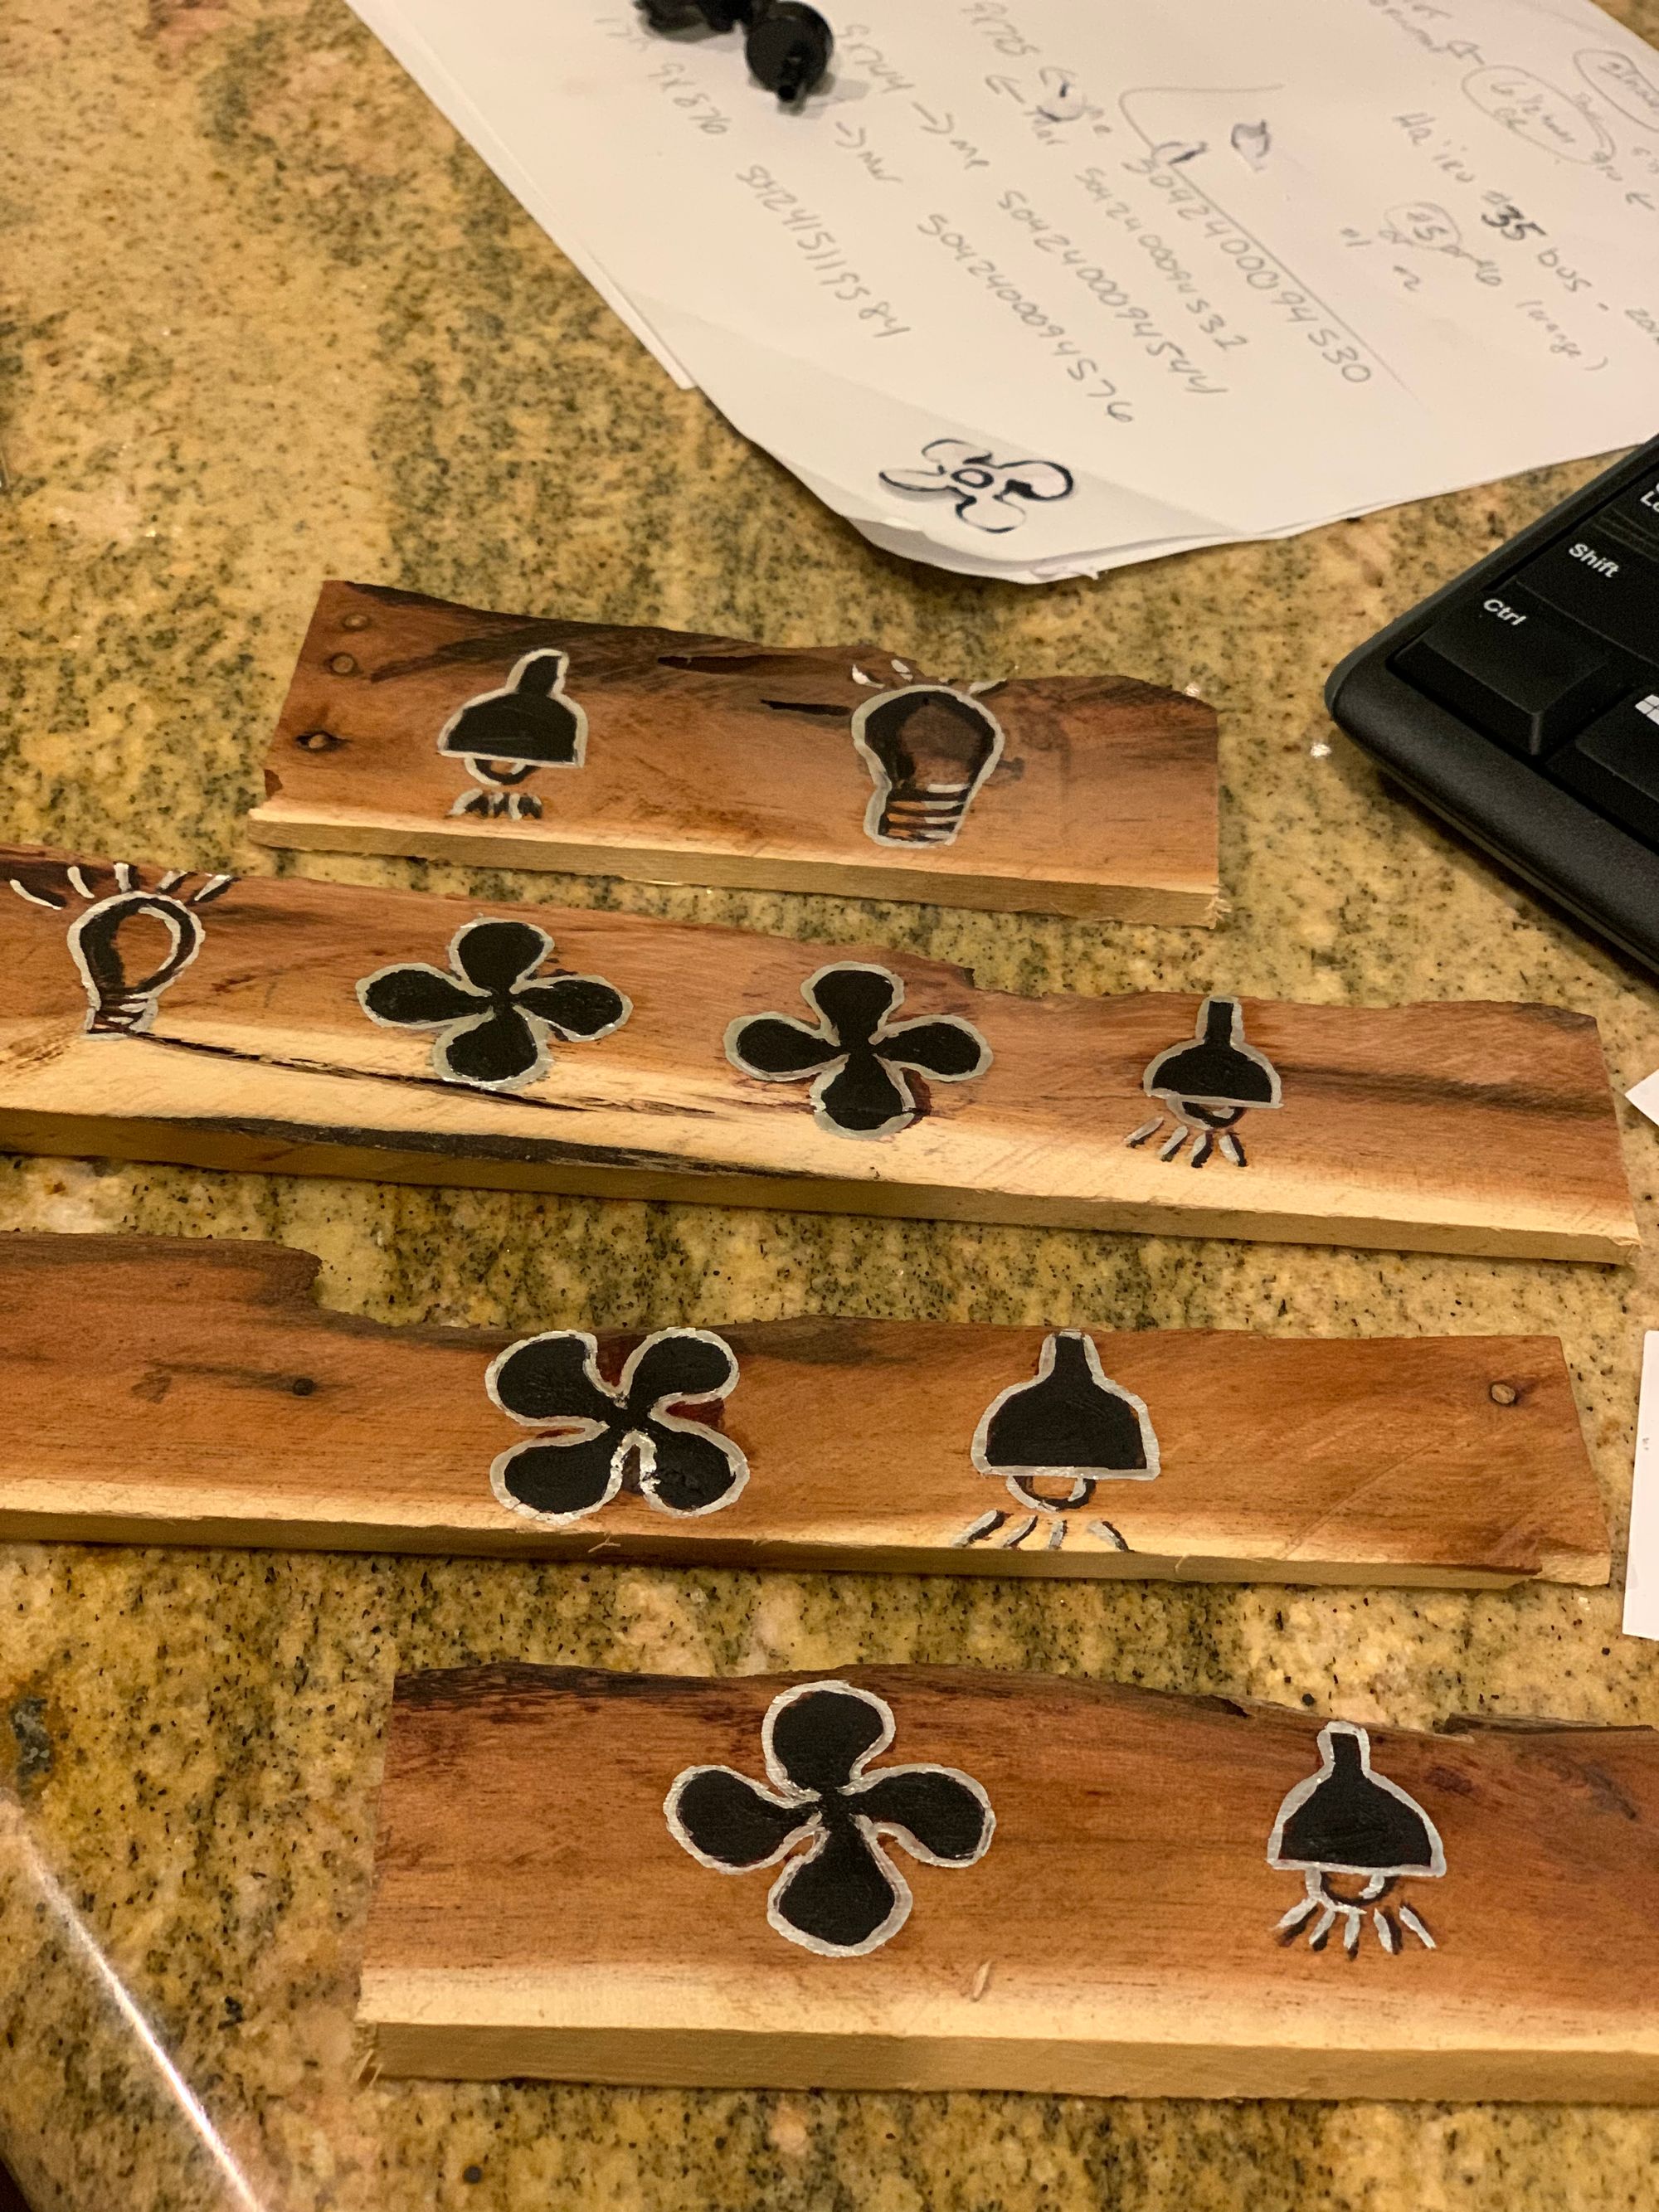
And here what the final finish looks like
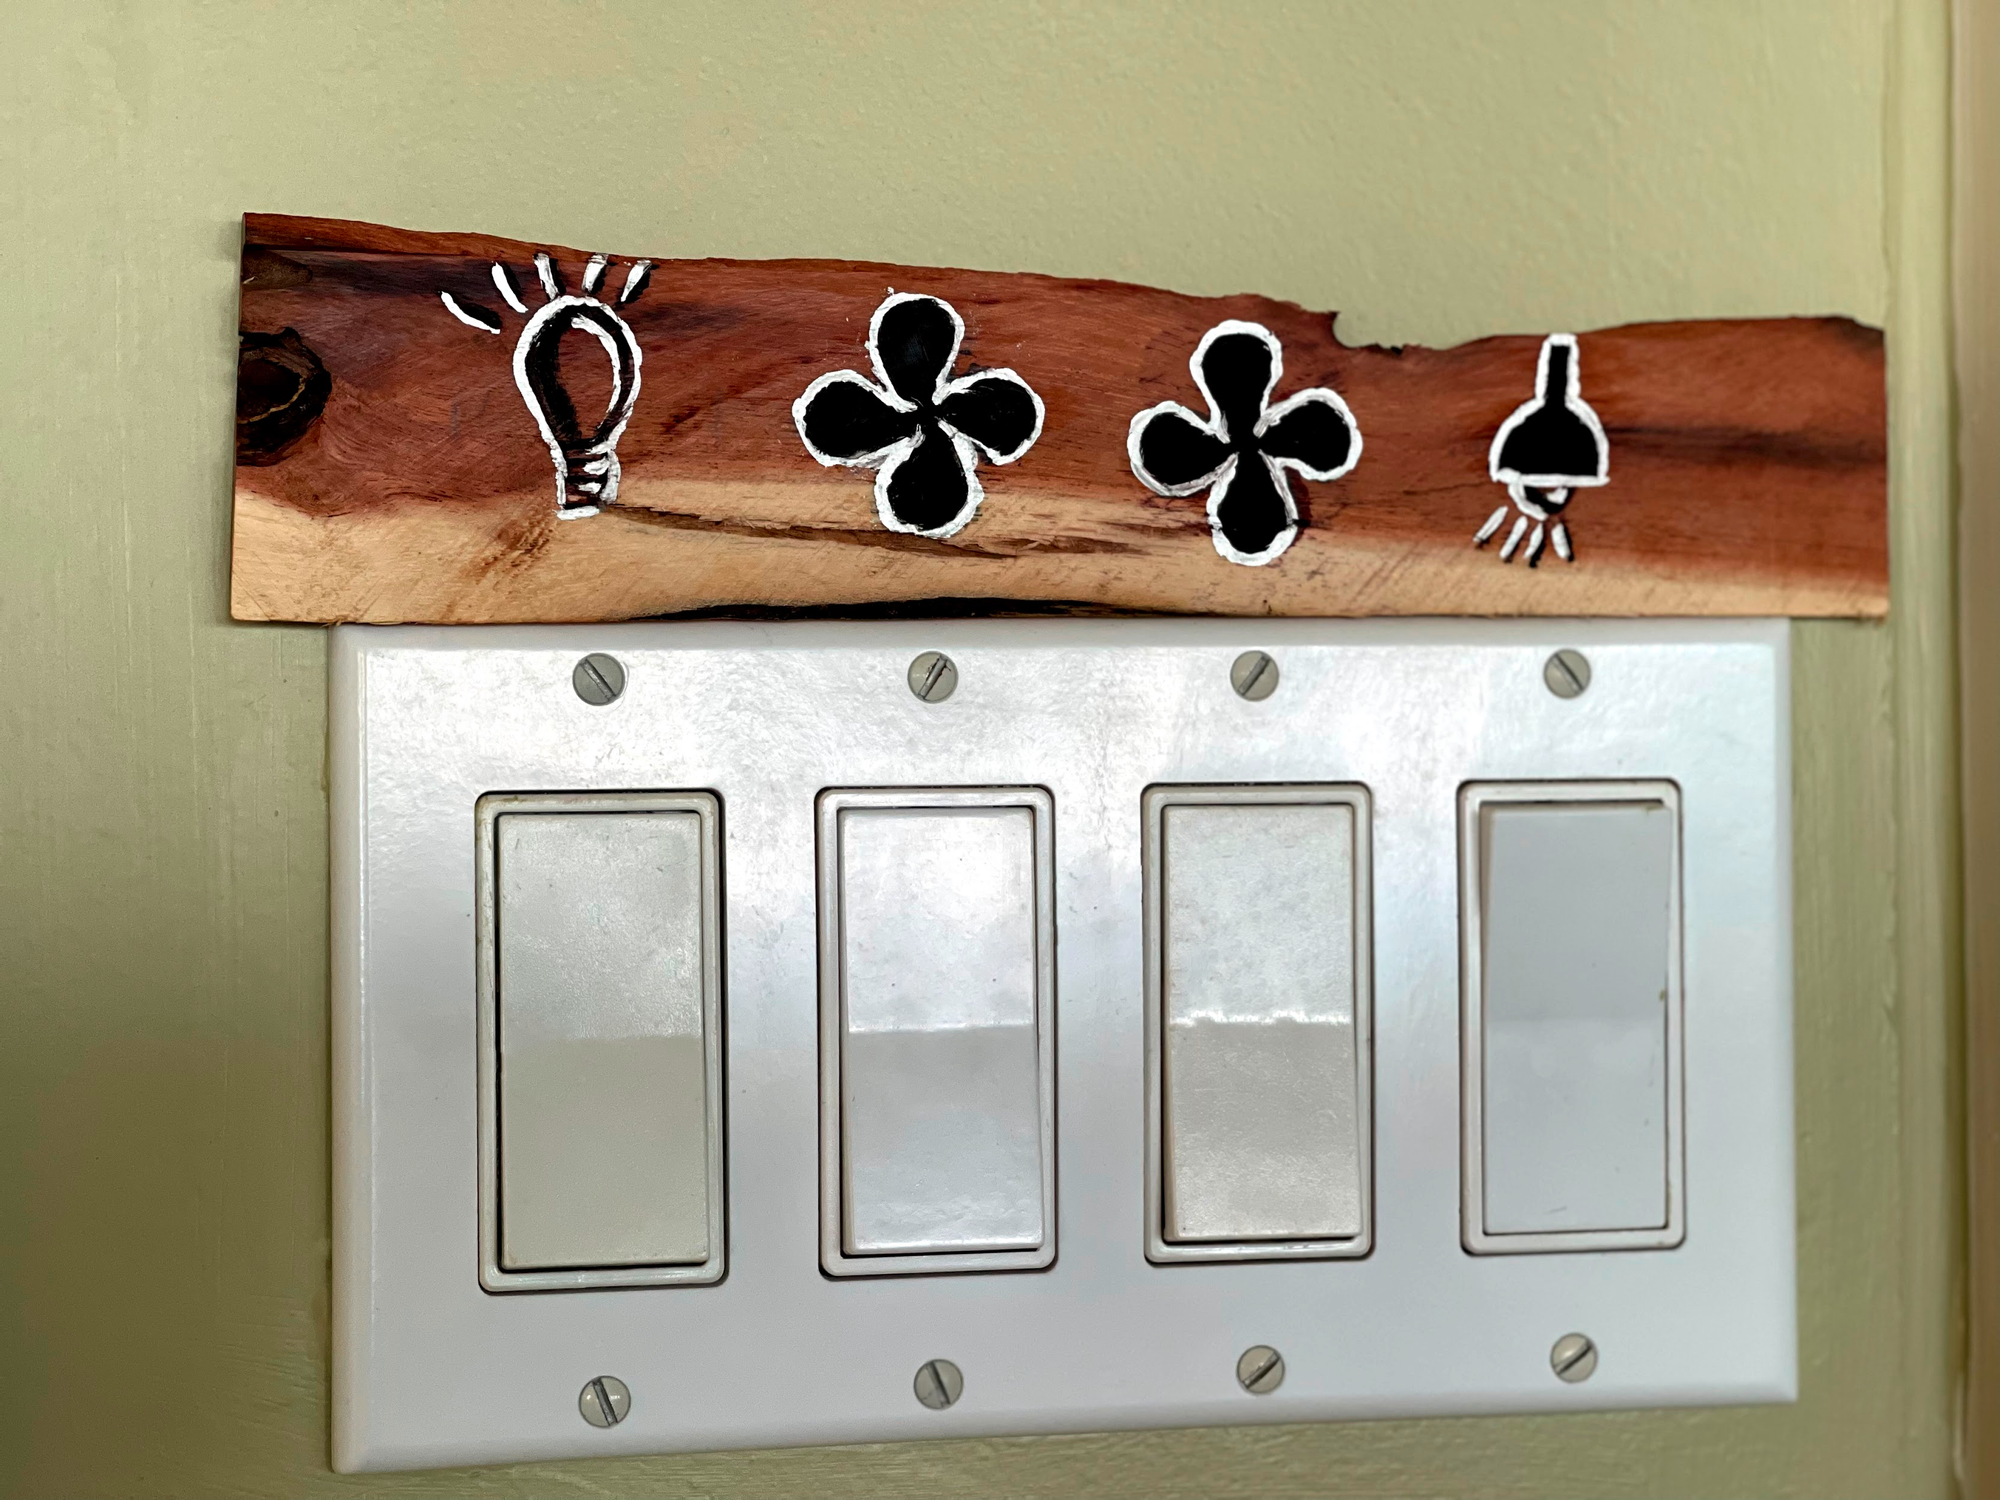
A shopper at the local grocery store saw a few leftovers of my designs in my car and asked what it was and to my surprise, I was commissioned to build a few for her home. I end up trading a homemade authentic Hawaiian dish for a couple of custom plates. Love bartering on Moloka'i!
I had some on the back seat because I had gone to the local hardware store to buy some polyurethane to stain the plate. I have a pet peeve with fingerprints...
Hopefully, this project will stop the question: What does this turn on???
It has been a lot of fun and I feel even more excited that my little project will be living in somebody else home as well.
While I wait for my other plates to dry off, have a bLife moment, every day. Mario just installed the night lights along the driveway and the sky is just calling for some stargazing time! bLife to all, Aloha.


